


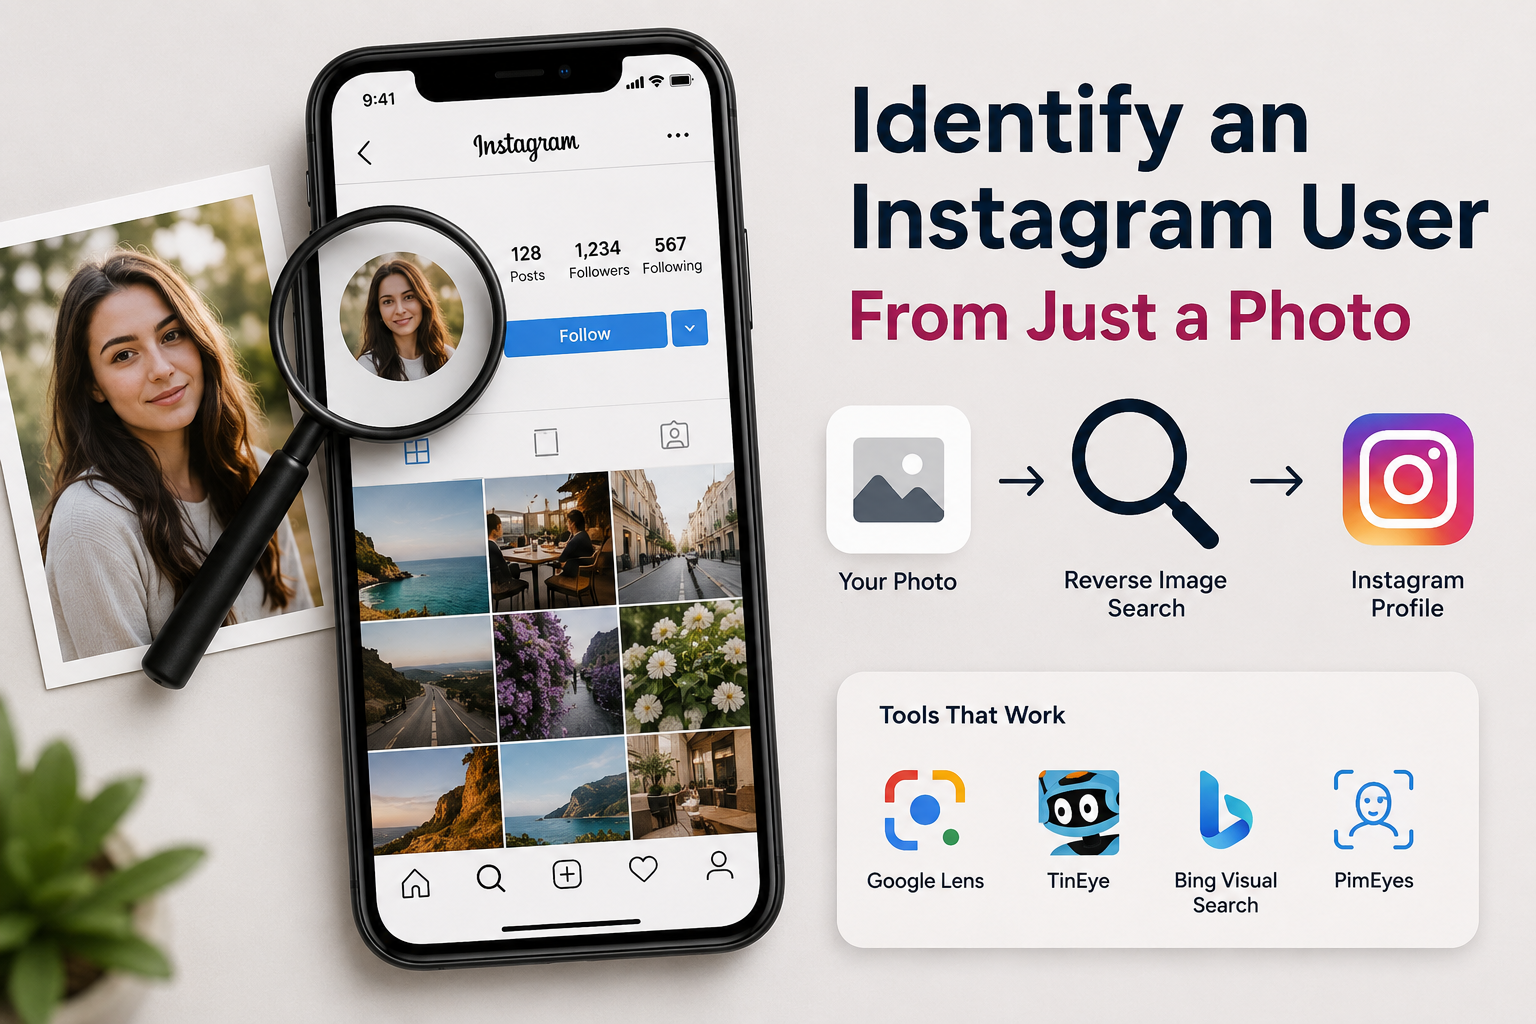
You’ve got a photo — maybe a screenshot from a dating app, a picture someone sent you, or an old snap from a friend’s camera roll — but no name, no handle, nothing to search by. It’s one of the more common (and surprisingly solvable) puzzles people run into online: how do you identify an Instagram user when a photo is all you have to go on?
The good news is that reverse image search tools have gotten much better at this over the last few years, and Instagram itself leaves more clues than most people realize. Here’s a full breakdown of the methods that actually work, plus a few that sound useful but rarely deliver.
Why People Try to Identify an Account by Photo
Before getting into the methods, it helps to know that this is a genuinely common need, not just something suspicious:
Verifying someone before meeting them. If you are matched with someone on a dating app and want to confirm their photos are real before agreeing to meet up, cross-checking against Instagram is one of the simplest safety steps you can take.
Catching catfishing or stolen photos. If you suspect someone is using a picture that isn’t theirs, a reverse image search can quickly reveal the original source and the real account behind it.
Reconnecting with someone. Old classmates, a person you met briefly on a trip, or a contact whose number changed — sometimes a photo is the only thing you have left to go on.
Checking your own image usage. Some people run reverse searches on their own photos to see if anyone has copied them onto a fake or impersonating account.
Whatever the reason, the process itself is pretty consistent no matter which tool you use.
Method 1: Google Lens (The Best Starting Point)
Google Lens is built directly into Google’s search apps and is usually the fastest way to start.
On iPhone:
- Open the Google app (or Google Photos) and tap the Lens icon in the search bar.
- Select the photo from your camera roll, or take a new one if you’re photographing a screen.
- Google will show visually similar images and, in many cases, the web pages where that exact photo appears — which sometimes includes a public Instagram post.
Google Lens works best when the photo is clear, well-lit, and shows the person’s face directly. It’s far less reliable with blurry screenshots or heavily filtered photos, since Instagram’s own compression can also strip out some of the detail Lens relies on. For the full rundown of how Lens processes images and what file types it supports, Google’s own support documentation covers it in detail.
Method 2: TinEye
TinEye works differently from Google Lens — instead of showing “similar” images, it specializes in finding exact or near-exact matches of a specific photo across the web. That makes it particularly useful if you’re trying to track down where a picture originally came from.
Upload the image directly at tineye.com, and it will list every site it has indexed that hosts that same photo. The catch is that TinEye’s index doesn’t crawl inside most social platforms the way Google does, so it tends to work better for tracking stolen or reused photos than for directly landing on an Instagram profile.
Method 3: Bing Visual Search
Bing’s visual search often gets overlooked, but it uses a different indexing system than Google, which means it sometimes surfaces results Google misses entirely. It’s worth running the same photo through Bing as a second pass, especially if your first search comes up empty. The process is nearly identical to Google Lens — upload or drag the image in, and Bing returns matching and visually similar results.
A useful habit is to run all three (Google Lens, TinEye, and Bing) on the same photo before giving up. Each one indexes the web slightly differently, so a dead end on one can still turn into a match on another.
Method 4: Facial Recognition Search Tools
For photos where a plain reverse image search doesn’t turn anything up, dedicated facial recognition search engines go a step further by matching the actual face in the photo — not just the image file — against a much larger index of public photos across the internet.
Tools like PimEyes fall into this category, and they’re considerably more powerful than Google Lens or TinEye for this specific purpose. That power comes with real trade-offs, though:
- Most of these tools are paid, with free searches limited to blurred or partial results.
- Accuracy varies a lot depending on photo quality, angle, and how many public photos of that person actually exist online.
- These services have drawn real privacy criticism, since they’re essentially indexing people’s faces without consent, so it’s worth using them thoughtfully and only for legitimate reasons like the ones described above.
Because of how sensitive facial recognition search can be, it’s worth treating these tools as a last resort rather than a first step — reach for them only once the simpler, less invasive methods have genuinely come up empty.
Method 5: Search Instagram Directly Using Context Clues
Sometimes the photo itself contains clues you can search on Instagram without any external tool at all:
- Location tags or recognizable backgrounds — a distinctive café, landmark, or event backdrop can be searched directly in Instagram’s location tab.
- Hashtags visible in a screenshot — if the photo was originally an Instagram post with a caption or hashtag still visible, search that hashtag directly.
- Mutual followers or tagged accounts — if you know even one person likely to be connected to them, scrolling their followers or tagged photos can surface a match faster than any reverse image tool.
This method takes more manual digging, but it’s completely free and doesn’t involve uploading anyone’s photo to a third-party service.
Method 6: Cross-Check Other Platforms
A photo used on Instagram is very often reused elsewhere — Facebook, LinkedIn, Twitter/X, or a dating app bio. Running the same reverse image search across a couple of these platforms, or simply searching the person’s likely name (if you know even a first name) alongside the city or workplace you suspect they’re in, frequently turns up a LinkedIn or Facebook profile that links directly to their Instagram handle.
This cross-referencing step matters more than people expect. Someone’s Instagram might be locked down and hard to find directly, while the exact same profile photo sits wide open on a professional network or public Facebook page, complete with a name attached.
A Word of Caution on Third-Party “Instagram Finder” Apps
You’ll come across apps and websites that promise to instantly find someone’s Instagram account just by uploading their photo. Treat these with the same skepticism you’d apply to any tool asking for personal data — many are ad-driven, some quietly harvest the photos you upload, and a few outright ask for your own Instagram login credentials, which you should never hand over to a third-party site. If you’ve ever noticed strange tracking links or leftover app data cluttering your browser history after trying tools like these, it’s worth a read through our guide on cleaning up tracking leftovers apps can quietly leave behind.
Using This Responsibly
It’s worth being upfront about something: identifying someone from a photo can cross into uncomfortable territory fast, especially if the person hasn’t given you any reason to think they’d want to be found this way. Verifying a dating match or tracking down a stolen photo is one thing; using these tools to track, monitor, or contact someone who doesn’t want to be found is another entirely, and it can carry real legal consequences depending on where you live. We cover this kind of judgment call in more depth in our piece on understanding online risks and responsible browsing, which is worth a read before diving into facial recognition tools specifically.
If your goal is simply to watch content on an account you’ve already identified, without appearing in their viewer list, that’s a different and much lower-stakes task — one we cover separately in our guide on how to view Instagram Stories secretly on your iPhone.
Final Thoughts
Identifying an Instagram account from nothing but a photo is much more doable than it sounds, as long as you use the right combination of tools. Start with Google Lens for a quick first pass, run TinEye or Bing Visual Search if that comes up short, and save facial recognition tools like PimEyes for cases where a standard reverse image search genuinely isn’t cutting it. Just as important as the method, though, is the reason behind the search — these tools are best used for verification and safety, not for tracking someone who’d rather not be found.
